How I Built This Website with Claude Code
In Zero to AI Hero, I walked through how AI works, how to prompt well, and what the shift from chatbots to agents actually means. My goal with this article is to help you build something simple and learn more about how to use AI practically.
For context: I recently built a website for my parents' coffee shop using Square's website builder. Drag-and-drop, templates, the whole thing. It was fine, but I spent hours fighting the layout tools to get basic things to look right. Building this site with Claude Code was a completely different experience. I described what I wanted in plain English, and it just worked. More control, more flexibility, and honestly faster than dragging boxes around a template. I don't think it'll be long before website builders like Wix, WordPress, and Squarespace feel irrelevant. AI just makes this so much easier. Hopefully this article helps you get ahead of that curve.
I'm going to walk you through how I did it, step by step. You don't need to know how to code or understand any of the underlying technology. And when you get stuck (you will, everyone does), the best part about building with AI is that the thing building your site can also explain what's happening and guide you through it. Just ask.
Step 1: Choose your interface
You have two options for where to work. Both do the same thing, just different interfaces.
Option 1: The Claude desktop app. If you prefer something visual, download the Claude desktop app and click the "Code" tab at the top. This gives you the full agent experience in a familiar window. You can see your session history on the left and type prompts in the middle.

Option 2: The terminal (Claude Code CLI). If you're comfortable in a terminal, or want to be, install Claude Code and run claude in any directory. This is what I prefer, and use daily. It runs right alongside your files and gives you a bit more control.

Either way, create a folder on your Desktop for the project. Call it whatever you want. Open Claude Code in that folder, and you're ready.
Step 2: Install skills
Before you start building, install the tools that will help you build better. Skills are saved instructions that teach Claude how to do specific tasks well. Think of them as playbooks. You install them once, and Claude uses them automatically as you work.
Vercel Labs has an open-source collection that I'd recommend starting with:
- Web design guidelines: Audits your site for accessibility, UX, and design best practices as you build. This caught issues I would have missed on my own.
- Deploy skill: One-command deploys to Vercel so you can get your site live fast.
- React best practices: Performance and code quality guidelines that Claude follows while writing your site's code.
You install these before building so Claude has them available from the start. It's like giving a contractor a set of quality standards before they break ground, not after the house is built.
Later, I also built a few custom skills for my own workflow:
- LinkedIn post skill: I type
/linkedin-post, point it at an article, and it generates post options in my writing voice. Saves me from context-switching between writing and promoting. - Content research writer skill: Helps with longer articles by researching topics and giving section-by-section feedback.
- Log skill: Automatically appends a session summary to my current state file so the project history stays up to date.
If you find yourself giving Claude the same instructions more than twice, that's a sign to turn it into a skill.
Step 3: Set up your workspace
I use two things to give Claude persistent context across sessions: a CLAUDE.md file and an Obsidian vault.
CLAUDE.md is a special file that Claude reads at the start of every session. It's how you give the AI memory about your project. You can ask Claude to create it for you. Just say something like: "Create a CLAUDE.md file for this project. This is a personal website. I want it to look clean and modern with a dark mode."
Mine started with just a few basics: what the project is, how I want it to look, and a couple of environment quirks. Over time, I'd ask Claude to update the file whenever something came up that I didn't want to re-explain. The site's pages, my writing style preferences, debugging instructions. The file grew with the project. I never had to open it and edit it myself.
Obsidian is a free note-taking app where everything is stored as plain text files. That matters because Claude Code can read and write your notes natively. Your notes become a shared memory between you and the AI. I covered this workflow in detail in Zero to AI Hero, but here's how it applies to building a website. I keep a vault alongside the codebase with:
- A current state file: A running log of what's been built, what changed in each session, and what's next. Claude reads this at the start of every session so it knows where you left off.
- A writing style guide: My voice and rules for any content Claude writes for me. Without this, the AI writes generic content. With it, the output actually sounds like me.
- Drafts: I outline articles, plan pages, and sketch out content in Obsidian before anything makes it to the live site. This article started as an Obsidian note.
The vault is where I worked through the vision for the site before handing it to Claude. I jotted down what pages I wanted, what the vibe should be, what content I already had. Then Claude could read those notes and build from them. I wrote more about this workflow in How I Actually Use AI to Build Things.
Step 4: Describe the site and let Claude build it
Because you installed skills in step 2, you don't need to worry about picking technologies or frameworks. The skills handle that. Just describe what you want the site to feel like and what pages it should have. Here's roughly what I told Claude:
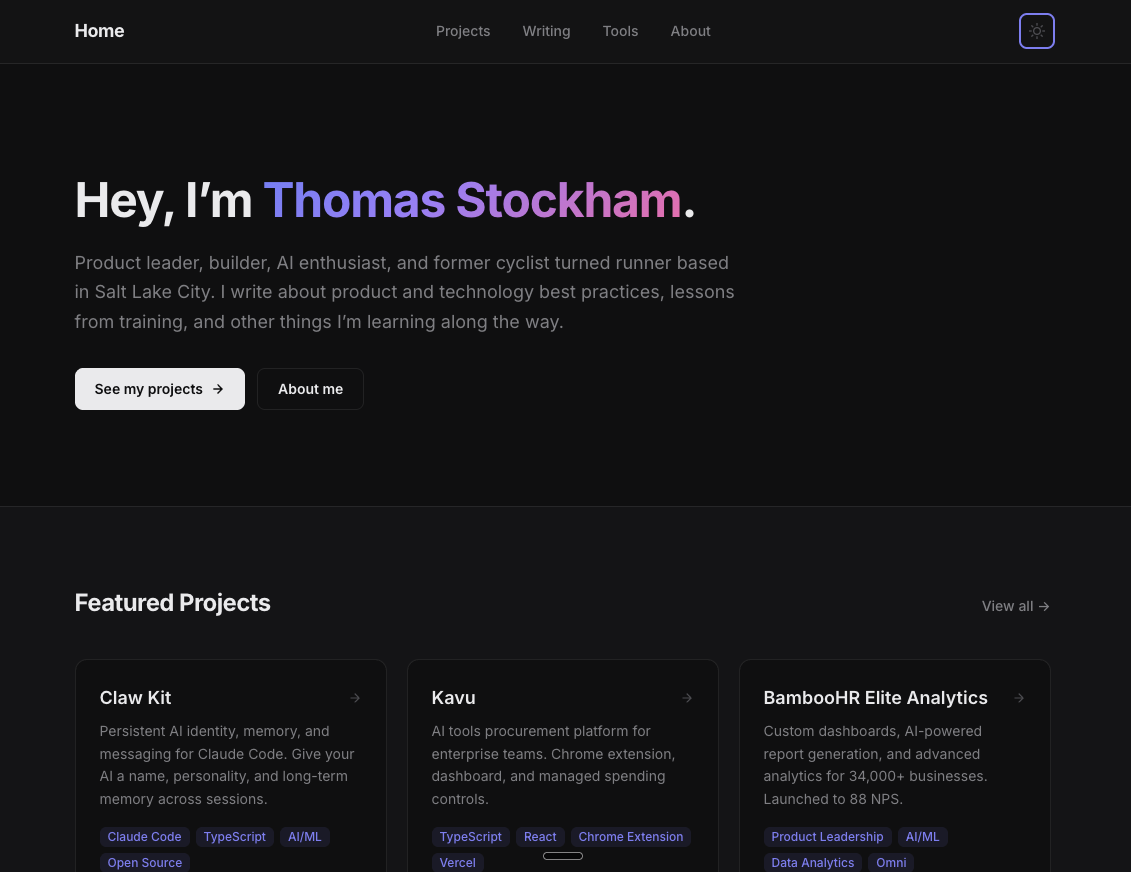
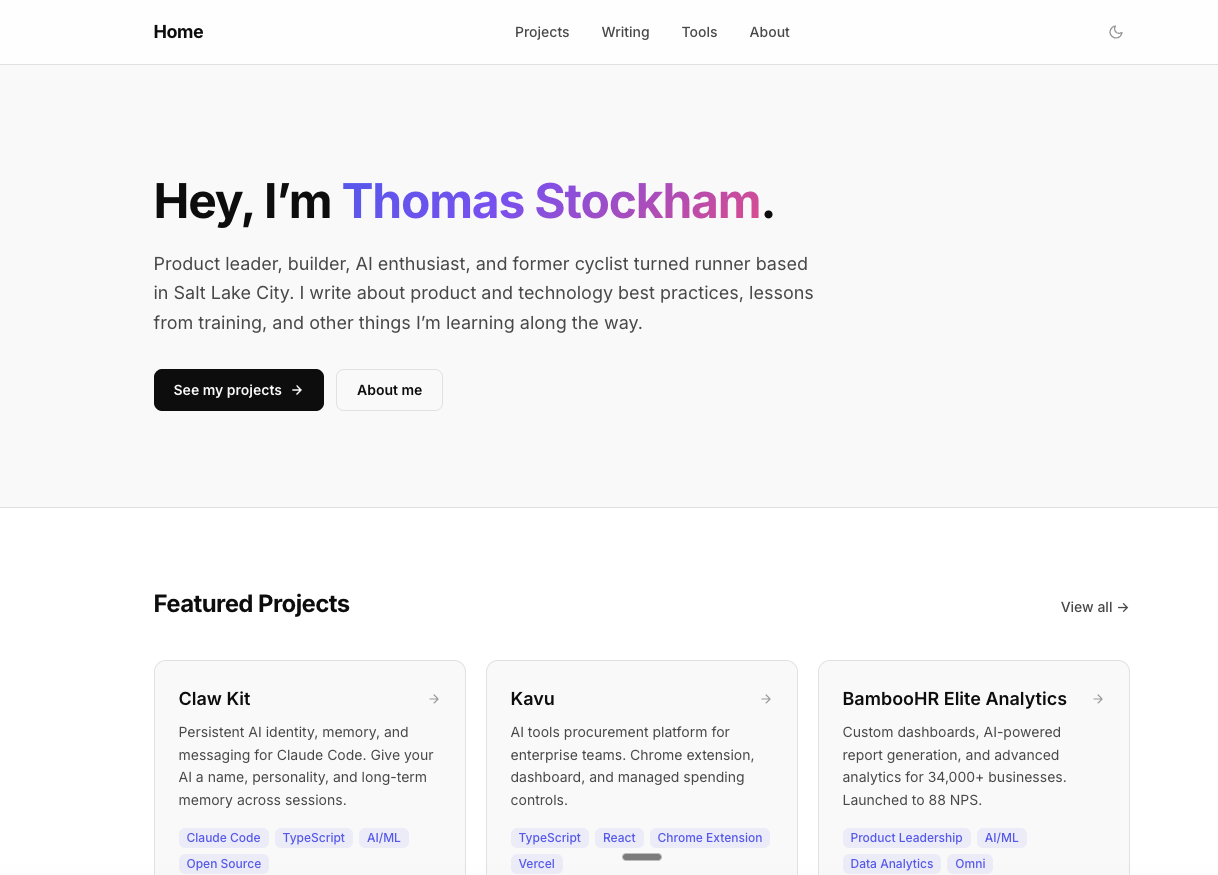
"Using the web design guidelines and React best practices skills, build me a clean, bold personal website with a dark mode. Something that feels modern and a little playful, like Linear or Arc Browser. Indigo accent color, neutral backgrounds, simple readable font. I want a home page with a hero section, featured projects, and recent writing. A projects page with a featured section and a grid of everything else, plus individual project pages. A writing page for blog posts. A tools page showing what I use to build. And an about page with a bio and links to find me elsewhere."
Claude picked the tools, set up the project, and built the whole thing. I didn't need to know which framework to use or how dark mode works under the hood. I described the outcome and let the AI figure out the implementation. Because I'd already installed the web design and React skills, Claude was following best practices from the start.
One thing that worked well early on: I described how I wanted the colors to feel (bright text for headings, softer text for descriptions, muted text for dates) and Claude generated the full color palette for both light and dark mode. I tweaked a few values by eye, but the structure was solid on the first pass.
From there, it's a feedback loop. Review what Claude built, tell it what to change. "Make the header bigger." "Add a section for recent blog posts." "Move the contact section to the bottom." Each round gets it closer to what you're imagining.
Step 5: Add a blog
I wanted to write articles like this one directly on my site. I told Claude I wanted a blog where I could write in markdown (a simple way to format text that's way easier than HTML) and have it look great on the page.
Claude set up the whole thing. Writing a new post means creating a new text file with a title and date at the top, then deploying. No admin dashboard, no content management system. Just files I can edit in Obsidian and publish when they're ready.
For the reading experience, I asked for a comfortable layout: not too wide, readable text size, and a table of contents sidebar on larger screens that highlights which section you're reading. Small details, but they make longer articles feel polished. You're reading the result right now.
Step 6: Deploy it
This is often where people get stuck. Deploying feels like it should be the hard part, the part where you need to understand servers and DNS and hosting configurations. It's not.
Because I installed the deploy skill earlier, deploying is one command. The site builds, uploads to Vercel's CDN, and it's live with a real URL in about 30 seconds. Just say "deploy this to Vercel" and Claude will walk you through connecting your account and pushing it live. If something goes wrong, or if a step doesn't make sense, ask Claude to explain what's happening. That's the whole point of building this way. The same tool that built your site can walk you through every part of getting it live.
I also had Claude build custom preview images so links to my site look good when shared on LinkedIn, Twitter, and Slack. And I added Vercel Analytics for basic page view tracking. Both took about a minute each to set up by just describing what I wanted.
Tools and resources
Here's everything I used:
- Claude Code for all development (or the Claude desktop app with the Code tab)
- Obsidian for project knowledge, writing drafts, and session continuity
- Wispr Flow for voice-to-text (faster than typing prompts)
- Vercel for hosting, analytics, and deploys
- Vercel Labs Agent Skills for community skills (web design audit, deploy, React best practices)
- Anthropic's prompt engineering guide for getting better at giving direction
- Markdown Guide if you're new to writing in markdown
- Linear and Arc Browser as design references for the aesthetic I was going for
What I'd do differently
Start the CLAUDE.md file on day one. I wasted a few sessions before I had one. Every preference, every rule you add to that file is one less thing you have to repeat.
Keep sessions focused. One goal per session. Build the blog. Set up dark mode. Deploy. When I tried to do everything at once, the context got noisy and the results got worse.
What's next
AI isn't a magic hat. You don't just type "build me a website" and get exactly what you imagined. I still had to make decisions about the design, the content, the structure, what pages to include and what to cut. I had to review what Claude built and give feedback when something wasn't right. The site didn't build itself.
But treating AI like a teammate made the whole process insanely easy and practically free. I described what I wanted, Claude figured out how to build it. The features I would have skipped if I were building alone (dark mode, table of contents, custom link preview images) were easy to include because I wasn't the one writing every line of code.
And this site is the simple version. My coworker Preston Booth just built a portfolio that completely blew my mind. Smooth animations, polished interactions, the kind of thing that looks like a design studio built it. Same approach we're talking about here, just taken way further. If you want to see what's possible when you push this workflow, go check it out.
If you followed along with Zero to AI Hero and built something with the exercise at the end, this is the natural next step. Take that project, or start a new one, and turn it into something real. Give Claude a CLAUDE.md file, set up an Obsidian vault, describe the site you want, and start building. You'll be surprised how far you get in a single evening.
And if you get stuck, just ask. Claude's still the best teacher you'll ever have.